Subscribe to our mailing list

* indicates required
News – Page 8 – All Things O'Natural

PROTEIN IT UP..NATURALLY

By Dominique Harris
on August 27, 2014
With 0 comments

Kettle Bell workout and Protein Smoothie.
This is definitely one of my husband's favorite smoothies. Packed with protein and other wonderful goodness. It has a wonderful chocolate nutty flavor. When our bodies are hungry, most times its craving protein and this is an excellent source of protein.

So, here's the scoop:

1 cup of Almond Milk

3 ripe bananas (the ones with the most benefit are the ones that have the brown on the outer peel)

1 cup of pure almonds or 3 tbsp of almond butter. (Peanut butter is an acidic food, almond butter is an alkalinic food. Alkaline foods are better for the body)

3 tbsp of Raw Cacao Powder (for the benefits of raw cacao see my blog post here 

3 dates to sweeten

Blend.

I used our #Vitamix blender because its powerful enough to blend almonds and does a wonderful job of blending everything together. And this mixture makes a wonderful frozen treat, so enjoy. Oh, and kids love it too!!!

WASH DAY FOR THE LITTLE ONES

By Dominique Harris
on August 20, 2014
With 1 comments

If you've got little ones, you may understand the 'sighs' of wash day...But..It truly doesn't have to be a dreaded task of war between parent and child. Here's a regimen that I use to keep my little one's hair healthy, manageable and stress free. 
NAOMI'S REGIMEN

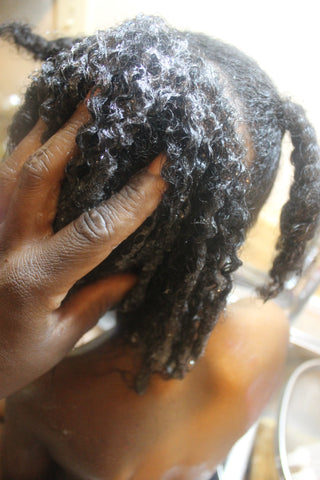
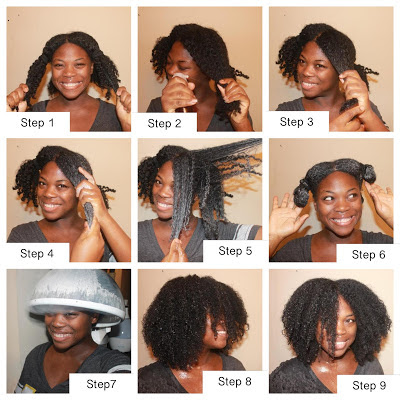
STEP 1: PRE POO (optional step)

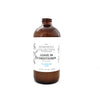
Depending on how dry her hair is,To soften her hair, help to retain more moisture and lessen the harshness of the cleansing routine, I will apply our Natty Moist leave in to her hair for 20 minutes. Whenever I do any type of cleansing, I ALWAYS place the hair in sections. This helps to minimize the hair tangling and helps the process flow much much smoother. The prepooing is done outside of the wash area, while she is watching a show or doodling on the ipad. To do this, I simply work one section at a time by apply an ample amount (amounts will vary based on thickness and length) to each section. I also take this time to finger detangling which is why I love to use our Natty Moist, it's extremely important to have a product with great slip.
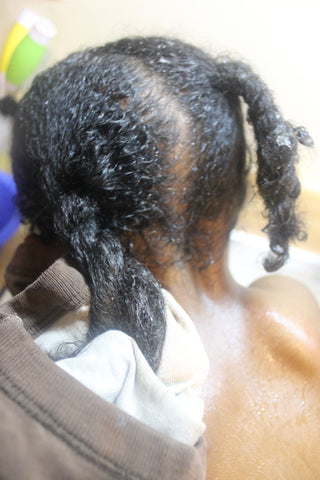


STEP 2: CLEANSING

After 20 minutes of allowing her finger detangled hair to soften via the pre poo, it's time to complete the entire hair routine. For us, the sink is always easier to use than the tub, she sits much higher which makes it an easier task for me. I rinse the conditioner from the pre poo out of her hair working one section at a time. After the conditioner has been rinsed, again working one section at a time, I apply our Dudu Osum Shampoo and thoroughly work in. Once I have applied to one section, I repeat on the other sections until I have applied the shampoo to her entire head.


STEP 3:FOCUS ON SCALP

I make sure to thoroughly work the cleanser in, focusing most on her scalp..this is where the most buildup of dirt, debris and oils are, and in order to maintain healthy hair, it's optimum to keep the scalp clean. (tip) While working the cleanser in, I hold one section of the hair with one hand while massaging the cleanser into the scalp with the tips (not nails) of my fingers. This prevents the hair from re-tangling while cleansing. 


STEP 4: RINSING AND DEEP CONDITIONING

I make sure to thoroughly rinse the cleanser from her hair, again, working one section at a time. 

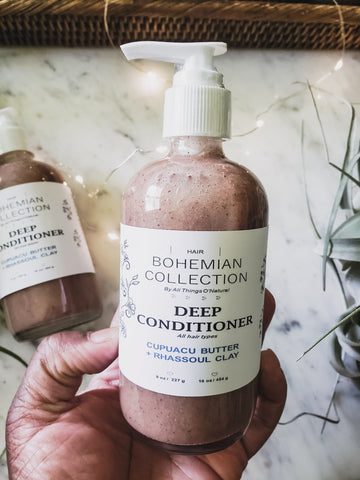
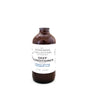
Just as it's important for us, as adults, to deep condition the hair, it's also important for our little ones to deep condition. Deep Conditioning helps to restore the moisture back into the hair that is removed during the cleansing process. I apply our Natty Cupuacu & Rhassoul Deep Conditioner to her hair for 5-10 minutes while allowing her to enjoy bath time. Working one section at a time, I finger the deep conditioner in to ensure that each strand is coated. Certain Deep Conditioners are pH balanced to help to close the hair's cuticle that is otherwise lifted during the cleansing routine. 


STEP 5: RINSING, DRYING, PROTECTING

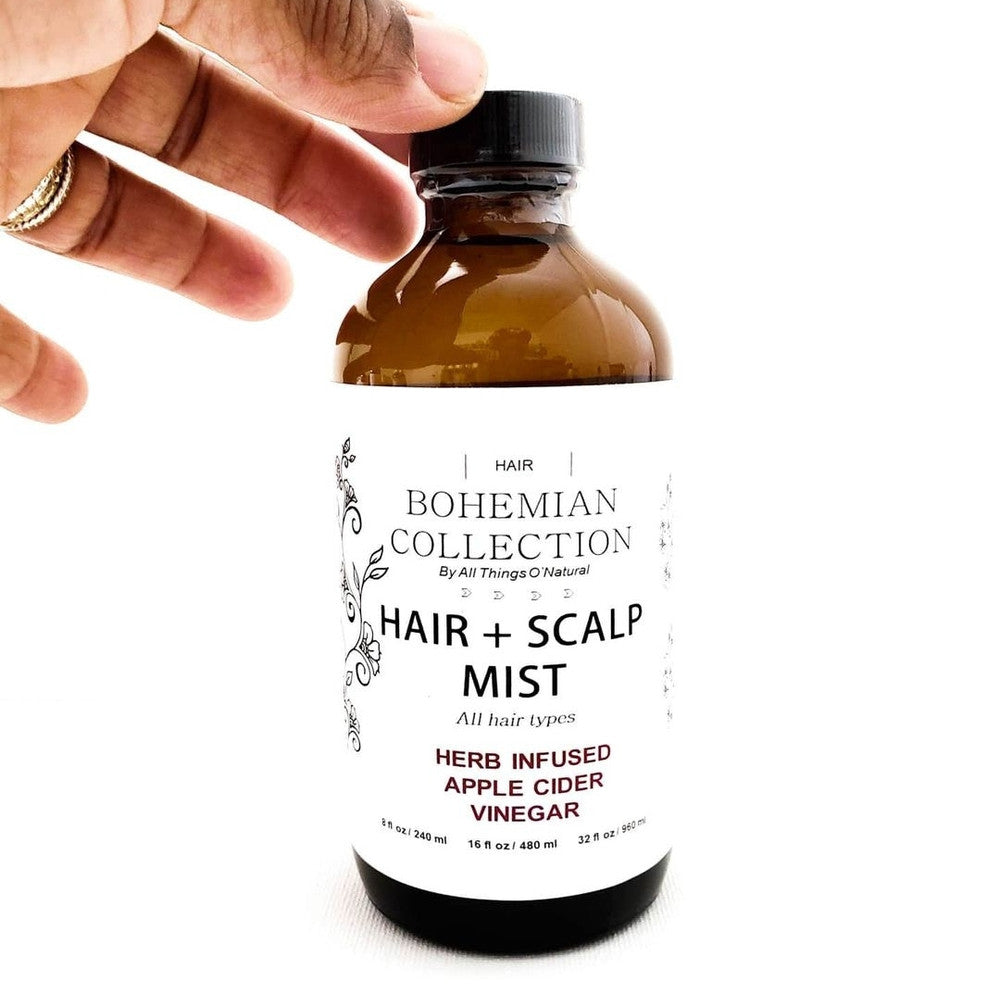
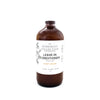
Once the deep conditioner has conditioned the hair (5-10 minutes for her), I thoroughly rinse. Once I have thoroughly rinsed her hair, I then use an old T-Shirt to dry her hair. Towels can be drying and harsh to the hair aiding in dryness, frizz and split ends.  I then apply our Natty ACV Hair & Scalp Mist to help further balance the hair's pH, as well as protect the hair from mineral buildup, dirt and debris found in tap water. Helping to close the hair's cuticle also helps to minimize frizz and impart shine to the hair. 


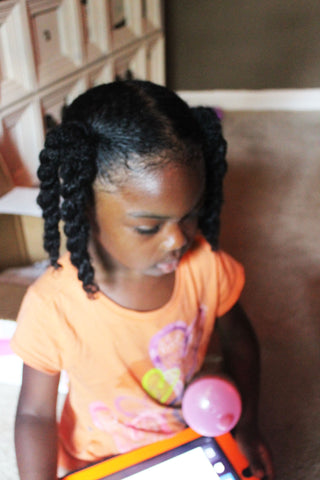
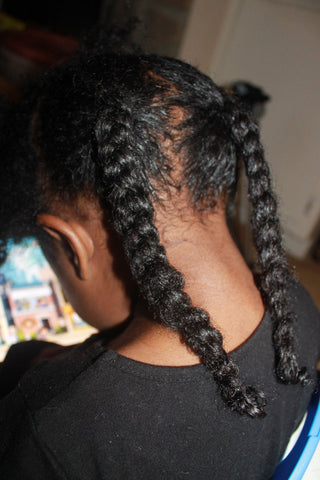
STEP 6: MOISTURIZING, SEALING, STYLING

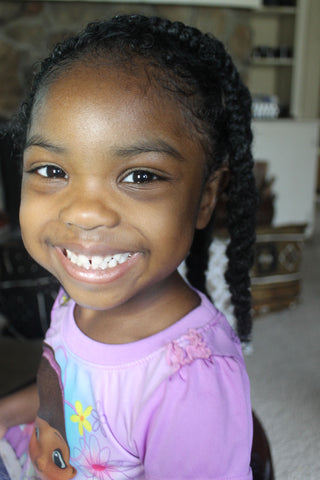
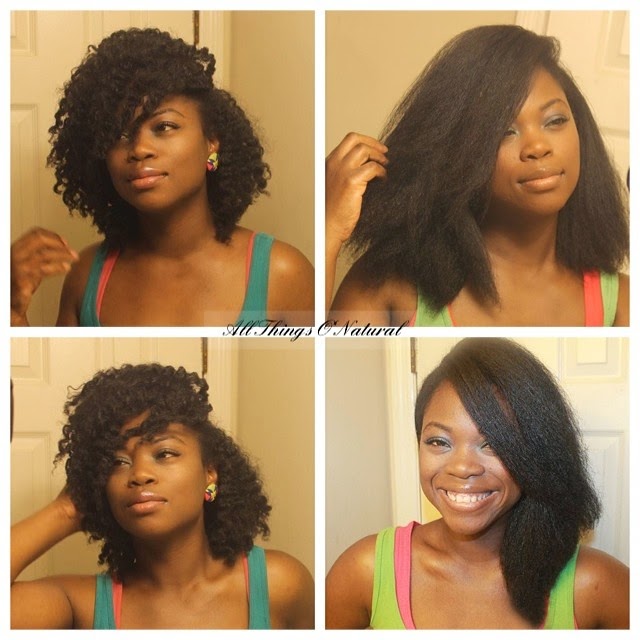
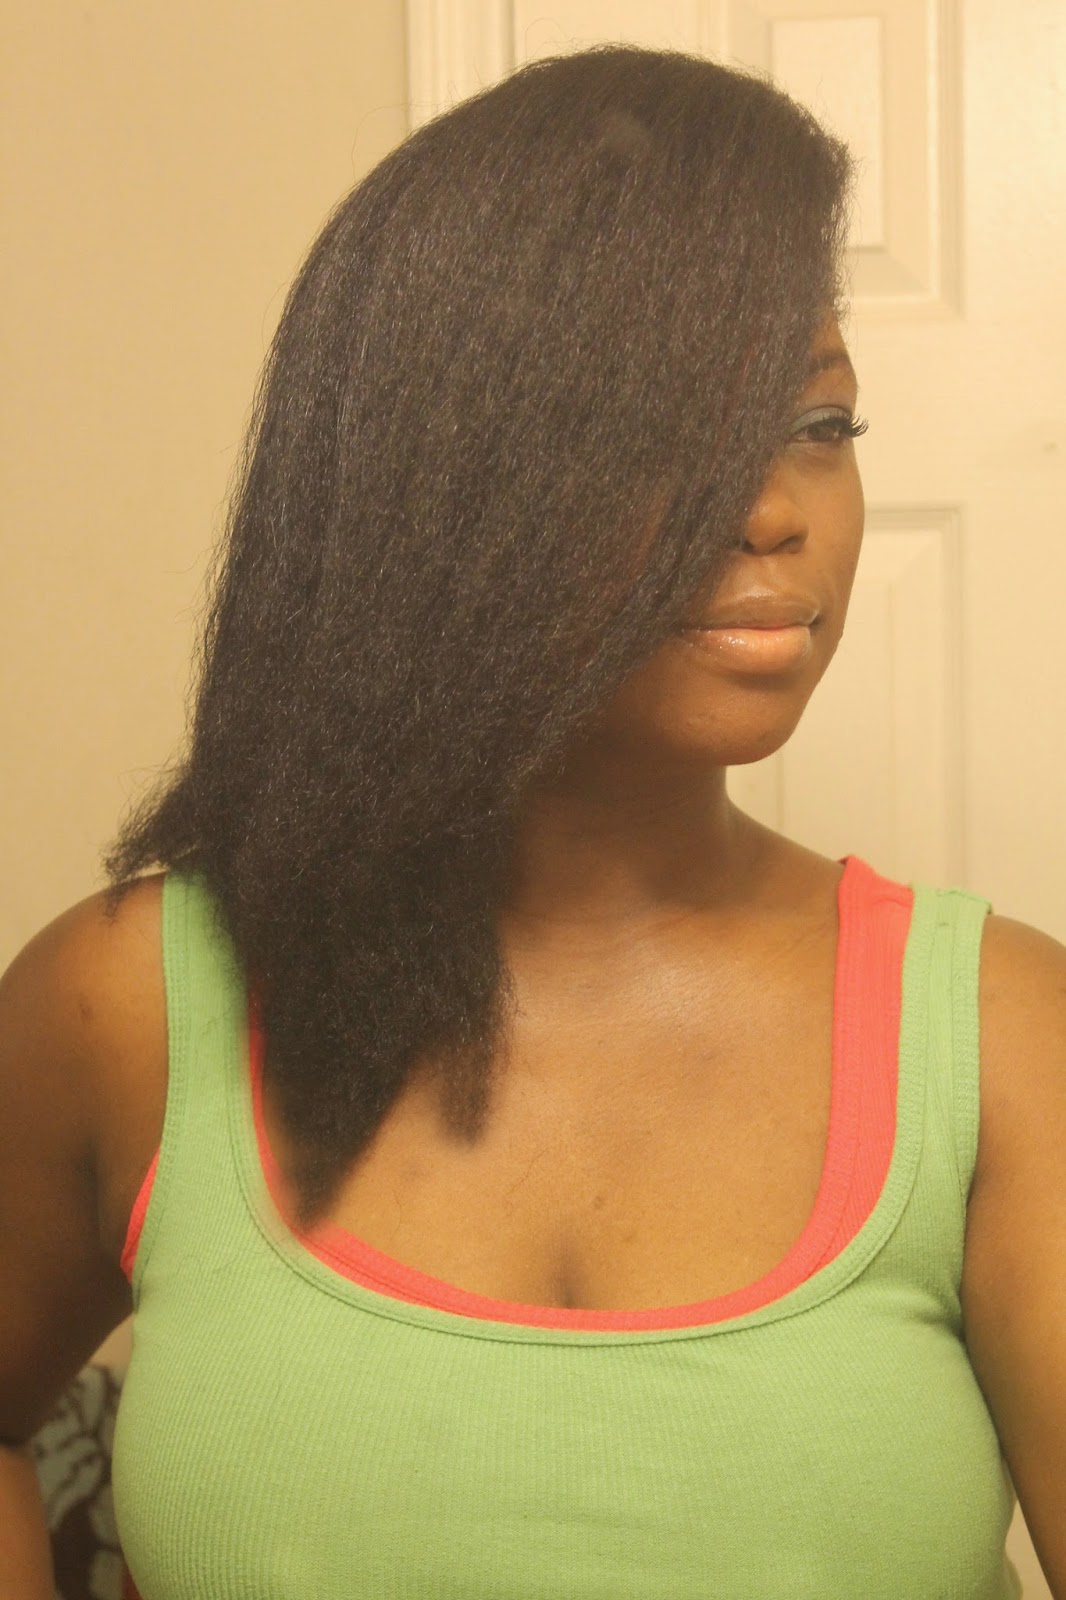
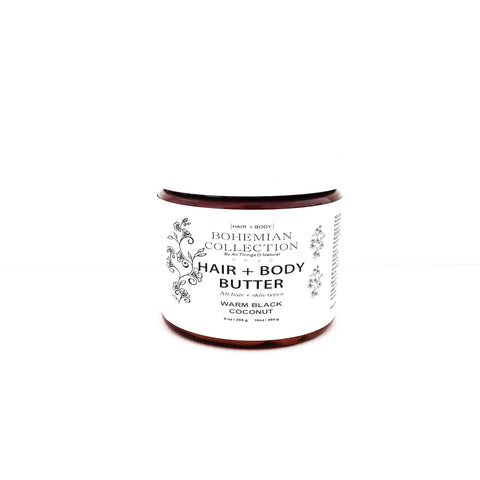
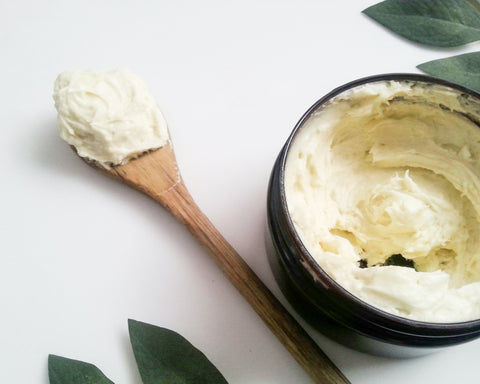
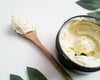
Once all of the cleansing, deep conditioning and protecting has been done, I apply our Natty Moist leave in conditioner to make sure her hair stays moisturized, then apply our Natty Butter to lock/seal in the moisture preventing the moisture from escaping. I then style as usual. Either buns or twists or braids. It's a very very rare occasion that I let her tresses flow freely, so I mostly keep it protected. I repeat this regimen about once per week and her hair has truly thrived. Whenever her hair needs remoisturizing throughout the week, I will apply our Natty ACV Mist to moisturize, then apply our Natty Butter to lock in the moisture..or I will apply our Natty Creme and style as usual. The important factors are: Ingredients, Clean Scalp, Moisture and Stress Free Styling. Here's a couple of ways I keep her hair. And as always, I hope this helps. 


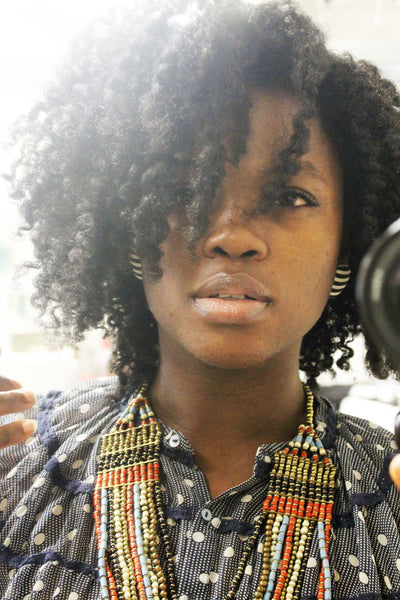
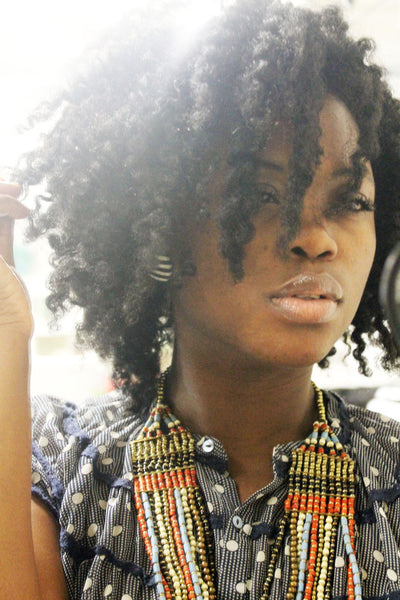
And on rare occasions...


TAKING TIME FOR YOU..IN STYLE

By Dominique Harris
on August 17, 2014
With 2 comments

As a mom of four little ones, it's imperative to step away from the beautiful life of mommy-hood and find some quiet time to focus on inspiration or just stealing moments of quiet time. Whether it's banging out a hard core workout at the gym, contouring your beautiful body via yoga or sitting in complete awe in nature, it's so important to find some time for 'you'.
A great laugh with a dear friend at her o'mazingly gorgeous furniture store was just the quick getaway that I needed, and of course, it doesn't hurt that your good friend owns this awesome space of pure goodness. Laughing over glasses of wine and reminiscing over old times and catching up on the happenings of the 'now' in our lives. 
A beautiful desk display can inspire even the busiest mommy who finds it hard to 'slow...down'. 
While finding inspiration, chatting and just having some good ole fun, I was in heaven viewing all of the various accessories, unique furniture pieces, beautifully contrasted textures. This basket was a beauty that caught my eye as I imagined how well it would look in my home.
I couldn't help but plant myself down on this absolutely beautiful sofa that was the most luscious sitting machine that my mommy working body has experienced in quite some time. 
And who wouldn't love this wonderfully curved artistic piece of 'beautiful'. With it's firm cream colored fabric juxtaposed the rustic dark wood, just beautiful.
Wonderfully girly..this needs no words..beautiful
All things 'pink'..Need I say more
And of course, I take some time to fluff the hair..Hey, she has grand mirrors all around begging one to 'stand in front of me'...So, I did, a few times.
After the days events of hours of chatting, laughing..oh, and wine, I was extremely peaceful upon my return home. Keep this in mind, my fellow mommies, if you don't take care of self, you will limit how much you are able to take care of others..effectively. Take some time for you and don't feel guilty about it. Regroup and find what brings you peace..find what brings you inspiration..find what makes you smile, for you.You will find that you are able to enjoy yourself, your family and your home much better.  In the end, when all is peaceful with mom, all is peaceful in the family. Wishing you peace and blessings. A Bientot!
Furniture Store: Jackson Charles Home
Undertank and Necklace: Forever21
Pants: Walgreens (Chattanooga, TN location)
Hair products for this twist out: Natty Creme and Natty Butter

MY PRE POO METHOD

By Dominique Harris
on July 29, 2014
With 2 comments


Hola Chicas/Chicos..I pray all is well with everyone.
So I decided to do a series titled 'Step by Step' pictorials of my healthy hair tips that I hope will also be beneficial to aiding you through your journey with ease.


What is PRE-POOing and Why Do It?

PrePooing is a beneficial step that is done before shampoo cleansing the hair. It allows the hair to retain more conditioner, it helps prevent swelling of the hair and it minimizes the harshness of shampooing and helps rid the hair of shed hairs accumulated throughout the days and weeks. (keep in mind, normal hair will shed between 100-150 hairs per day. You can tell shed hair by the white tip or bulb at the end of the hair)...If you have a prepoo method of your own that is working, please feel free to share. I do this about once per month each time I do a shampoo cleanse.

A NATTY GIRL'S STEP BY STEP PRE POO METHOD


STEP 1:

Place hair into 2 to 4 sections (if long enough) to prep for pre pooing. The sections allow for ease of doing this method and to help prevent the hair from re-tangling. Select a spray bottle with water, your favorite oil and/or conditioner (recently, I've been using both an oil and conditioner.)I apply my hair using my Natty ACV Hair & Scalp Mist. This helps remove old product build up, working as a light clarifier as well as help with detangling. 

STEP 2:

Saturate hair with your water or if you have it, your Natty ACV Hair & Scalp Mist (Again this aids in helping to detangle with ease)

STEP 3:

Apply your oil of choice or apply your conditioner. If using conditioner only, skip step 3. Just FYI, oils that are able to penetrate the hair shaft are: olive oil, avocado oil and coconut oil...

STEP 4:

Saturate the hair, making sure to thoroughly apply to your ends, with your favorite natural conditioner. I use our Natty Moist leave in conditioner. It's perfect due to the slip factor and the tangles just melt away. 


STEP 5:

Detangle with your choice of tool or your fingers. I mostly finger detangle. Be sure when using a tool, began detangling from ends working your way up to your roots now that your hair is slippery with conditioner. This minimizes breakage and allows for easy detangling. Be sure to thoroughly work the conditioner through.


STEP 6:

Place hair in twist, buns or plaits so hair does not re-tangle while pre pooing


STEP 7: 

You can opt to use no heat or use a steamer or heat cap to help infuse the oils and/or conditioner into the hair. This is especially helpful for naturals with 'low porosity' hair. The heat helps to lift the cuticle and properly infuse moisture. If you are unsure what your hair's porosity may be, simply place a single hair into a cup of water and watch to see if it floats on top, in the middle or floats to the bottom. If it floats on top, you have low porosity, which is typically genetic. This means that your cuticle is closed very tight making it a bit difficult to penetrate the hair with moisture..but once moisture is infused, it holds moisture very well. This is why the heat, which helps lift the cuticle is beneficial. If the hair floats to the bottom, you have high porosity hair. This type is usually caused by damage such as chemical processes (relaxers, texturizers, colorants), heat and/or environmental pollutants. For high porosity, you can choose to use heat when conditioning or not, just be sure to use butters and oils when locking in moisture to help close the gaps that are in the hair follicle from damage. If the hair floats in the middle, you have normal porosity.

** fyi, I have low porosity hair and it stays hydrated using these methods.

STEP 8:

Shampoo (Dudu Osum Natural Shampoo) , deep condition (Natty Cupuacu & Rhassoul Deep Conditioner), apply a leave in  (Natty Moist) and seal in the moisture (Natty Butter). 

AN O'NATURAL UPDO

By Dominique Harris
on July 24, 2014
With 0 comments

Ahh, the beauty of updo's! This updo is perfect for work and play and with very few products, it's simple to do and works o'mazingly on an old twist out or braid out.
Check out the details below.

STEP 1:

CHOOSE YOUR FAVORITE MOISTURIZER/SEALER OR STYLER.

It's always best to make sure to moisturize your hair before styling. This helps prevent dryness and breakage. For this style, I used our Natty Moist to moisturize, then sealed in the moisture using our Natty Butter. You can also use your Natty Creme as a perfect marriage of both.

STEP 2: 

SECTION OFF HAIR

Once your hair is nice and moisturized, place hair into 3 sections: Top, Middle, Back Two strand twist the top portion (see step 3 below) and back section. 

STEP 3 

FRONT BANG TWIST

2-strand twist front and back section in medium to chunky sized twists, leaving middle section loose. In the front, using bobby pins, randomly pin the section to create a nice textured front layered bang.

STEP 4-5

 DETANGLE AND FLAT TWIST

Middle Section..Working one side at a time, detangle and section hair into 3 thin section and flat twist upward towards top center of your head. Leave the lower half of the flat twist loose. Once you have 3 flat twists, repeat on opposite side.


STEP 6

GATHER FLAT TWISTS

Working one side at a time, gather your 3 flat twists and combine into one large two strand twist. Repeat on the opposite side.


STEP 7

PIN IT UP

 Working one side at a time, pull the large flat twist to the opposite side and pin using a bobby pin. Repeat on the opposite side.


STEP 8: 

RELEASE THE BACK AND FLUFF

To minimize frizz and add shine, apply a natural oil or butter to your hands to remove back twists. I used my Natty Butter to remove my twists and gently separated each twist to achieve the fullness that I liked.


STEP 9:

FLUFF, FLUFF, FLUFF

perfect to your liking, add some fly earrings and ROCK IT OUT!!

Earrings by Yumnah Najah

RAW CACAO VS.. COCOA

By Dominique Harris
on July 23, 2014
With 0 comments

Ahhh, the beauty of healthy super foods.
Lets chat about 
Raw Cacao vs. Cocoa

2 ingredients that look similar, but hold VERY different benefits. Check out the differences:


RAW CACAO:


made by cold pressing in roasted cacao beans. This process keeps the living enzymes (the good healthy stuff) in the cocoa. Raw Cacao is known as a 'Superfood' which means they contain higher quantities of antioxidants, vitamins, minerals and other health boosting anti aging, disease fighting goodness. For hair, raw cacao contains natural occurring sulphur, the beauty secret responsible for providing the correct super growth nutrients. It has 40 times the amount of antioxidants of blueberries. It is one of the highest plant based sources of iron (7.3 mg per 100g). More calcium than cows milk. And, one of the highest plant based sources of magnesium (one of the most deficient minerals in the Western world). Cacao is extremely high in flavanols, which are  potent antioxidants that help stop cell destruction and boost collagen and elastin production revealing repaired, plumped and luminous skin. This is one reason we love and include this ingredient in our Cupuacu & Rhassoul Deep Conditioner , Cacao Clay Cleanser.

COCOA:

the yummy goodness many of us grew up with is different from raw cacao in that it has been chemically processed and roasted, which destroys a large amount of the goodness. Much of what is mentioned about the goodness of raw cacao is destroyed and absent from cocoa during processing. Think Raw honey vs processed honey. Raw ACV vs plain ACV. 


So add this goodness in smoothies, hot chocolate drinks, deserts, soaps and hair products and your insides and outsides will thank you!

DIY..FAUX SCONCES USING PAPER TOWEL ROLLS

By Dominique Harris
on July 21, 2014
With 0 comments

Greetings, Ladies and Gents!! I pray all is well..
Ok, here is an awesome DIY project that's under $8. My inspiration for these was my longing to have some wall art lighting, but to incorporate true sconces would entail electrical wiring and the Frugal Frieda in me put my mind into action as to how to achieve the look I wanted for little money. So, I finally thought of an awesome way to get what I wanted using basic items I had around the house. Stay tuned below for the details.

WHAT I USED:


Paper Towel and Toilet Paper rolls. This will give the varying sizes I used to create the art.

I had these spray paint colors on hand and to achieve the metal look I wanted, I layered all three.
  • Blue Lagoon
  • Metallic Gold
  • Gloss Black
  • A hot glue gun will also be handy for securing the pieces.
  • To adhere the sconce to the wall, I used adhesive dots.

THE HOW TO:

  • I layered the colors first beginning with the base color of the Blue Lagoon, then the metallic gold, then the black to give it a rusted metal look.
  • Once the rolls are dry, I placed the rolls in the manner I wanted the design and used my hot glue gun to secure the pieces together. Be sure to layer your rolls at varying heights to create the layered look. I loved the finished look!! They actually turned out better than expected and look O'Mazing on the wall.. So, go, my fellow DIY artists, create beautiful art. 

THE FINISHED LOOK:


FRO HAWK IT OUT!!

By Dominique Harris
on July 19, 2014
With 3 comments

Fro Hawk it Out!!!

Here's a great style that's quick, simple and O'So Cute!! It's the perfect look for work or play. Stay tuned for my step by step:

The How To:


Step 1: select a good moisturizer (water based product such as a leave in conditioner) and sealer(butter or natural oil) (use of a styling agent is optional). I moisturized using my Natty Moist and sealed using my Natty Butter. You will also need 2 ouch less metal free bands and 1, 2 or more bobby pins. 


Step 2-3: create a front and back bang

Step 4: Moisturize hair and, without creating parts, place top and middle section of hair into ponytails. Creating parts will cause the style to look more like ponytails than the intended faux fro hawk. Once you have your pony tails secured tightly, fluff the hair so the ponytails are seamless and the hair blends together making it look like one seamless fro hawk.


Step 5: twist your front bang beginning half way down twisting to the end to prep for the swooped front.


Step 6: swoop the twisted bang to desired side and pin using bobby pin(s). Tighten up any loose ends,such as loose hairs, fluffing the hair to ensure a seamless style and apply some sheen (I melted my Natty Butter down to an oil and applied to my finished style to add some shine). Enjoy and rock it out!!!!

GOOD EATS..Banana, Almond Pancakes (Gluten Free)

By Dominique Harris
on July 17, 2014
With 2 comments


Greetings my fellow 'good eaters'...After a morning viewing all of the yummy eats in Trader Joes, I was craving some pancakes...but not just any cakes, something hearty and healthy, topped with fruit, almonds, granola and yummy maple syrup..So, why not some Banana Pancakes. Want to know all the 'hows' of this yummy goodness...check it out below!


WHAT YOU'LL NEED


  • 3 small bananas (9.5 ounces), mashed (the riper the better, I found..much easier to mash)
  • 2 tablespoons coconut oil or butter, melted ( I used Coconut Oil)
  • 1 tablespoon lemon juice (about 1 small lemon, juiced)
  • 2 teaspoon honey or maple syrup 
  • 2 eggs (for vegans, you can leave this out or use apple sauce)
  • 1 cup almond flour
  • ½ teaspoon baking soda
  • ½ teaspoon salt
  • ½ teaspoon ground cinnamon
  • ¼ teaspoon ground nutmeg

LET'S COOK!!


  1. In a small mixing bowl, stir together the mashed bananas, coconut oil (or butter), lemon juice and honey (or maple syrup).
  2. Beat in the eggs, or add the applesauce. (If your coconut oil goes back to its solid state, just warm the mixture for short 20 second bursts in the microwave, stirring between each, until it is melted again.)
  3. In a medium bowl, whisk together the almond flour, baking soda, salt and spices.
  4. Form a well in the center of the dry ingredients and pour in the wet ingredients. With a big spoon, stir just until the dry ingredients are thoroughly moistened. Do not overmix!
  5. Let the batter sit for 10 minutes. You may want to thin out the batter a bit with a touch of almond milk or water.
  6. Heat a heavy cast iron skillet/non-stick pan over medium-low heat, or heat an electric griddle to 350 degrees Fahrenheit. Lightly oil the surface with coconut oil, butter or cooking spray. (If you're using a non-stick electric griddle, you might not need any oil at all.)
  7. Once the surface of the pan is hot enough that a drop of water sizzles on it, pour ¼ cup of batter onto the pan. Let the pancake cook for about 3 minutes, until bubbles begin to form around the edges of the cake. (The times can vary, just be sure to allow to cook thoroughly)
  8. Once the underside of the pancake is lightly golden, flip it with a spatula and cook for another 90 seconds or so, until golden brown on both sides. You may need to adjust the heat up or down at this point.
  9. Serve the pancakes immediately or keep warm in a 200 degree Fahrenheit oven.
  10. Add toppings of your choice. I added Fresh blue berries, banana, granola, almond shavings and Grade B Maple Syrup
  11. ENJOY with a smile!!!

GOING STRAIGHT..Flat Ironing My Natural Hair

By Dominique Harris
on July 16, 2014
With 2 comments

Greetings, Everyone!!! I pray all is well with you and your wonderful household. 
Ahhh, the versatility of natural hair...Ok, so I decided to do a light blow out and flat iron on my tresses. Now, I've only used heat in my 4th month post BC and a little on my bang in 2012 as a demonstration on how to use heat properly on natural hair. For my complete post on the 'Do's and Don't s on Using Heat', click here . So, it's been quite awhile since the ole gal has had fire to the flame. 
I truly wanted to experiment with straight hair this week because as a page operator, I receive questions in regards to caring for natural hair while flat ironed or straightened. And, honestly, I love to speak by experience. So, this week, I want to document how I cared for my tresses while flat ironed: through workout, protecting at night, moisturizing, detangling, you know, the good stuff that helps keep our hair healthy. Now, I will say, I don't think excessive use of heat is a great go, simply because the more heat applied over and over gradually breaks down the protein bond in the hair and overtime, could potentially prevent the hair from reverting back to its normal curly, kinky or coily texture. Excessive heat use can also aid in dryness. So, with everything, I definitely encourage moderation. 

MY REGIMEN AND PRODUCTS USED ON DAY 1:


  • Twist: Once my hair was 70-80% dry, I placed in twists to prep for blow drying and flat ironing the next day.  I had 16 total twists. 

THE METHOD: DAY 2

 
On Hair that was completely dry, working one twist at a time, I untwist, dampen just a little using my Natty ACV Hair & Scalp Mist then applied my Natty Butter to lock in the moisture. This helped with retaining more moisture into my hair to avoid dryness. Using a paddle brush, I detangled and Blow dried on medium heat, low setting. Taking smaller sections, I applied a little Natty Butter as my heat protectant then I proceeded to flat iron on temp setting of 325. Hair will burn at a temp of 450 degrees and above, so please be mindful. And because I did not want to risk burning or damaging my hair, I kept the heat setting low for a light flat iron. This allowed my hair to maintain the fullness that I achieved. I repeated until my entire head was done. Took about 3.5 - 4 hours for the entire process (this included resting for 3 minutes..hey, I'm not used to taking this much time on my hair unless I'm mini twisting my hair, which takes a loooonnnngggg time). I also trimmed about 2.5 inches off of my hair to rid my hair of dead ends. I didn't shape my hair or anything, for some reason, my hair grows out in a shaped mode all on its own. 
 

THE RESULTS: I DO LOVE IT!!


Cart Summary

Your cart is empty

Recommended products

  • LEAVE IN CONDITIONER LEAVE IN CONDITIONER
  • HAIR + BODY BUTTER HAIR + BODY BUTTER
  • CUPUACU & RHASSOUL DEEP CONDITIONER CUPUACU & RHASSOUL DEEP CONDITIONER

From the Blog

5 Things To Keep In Mind Wh...

January 08, 2025

I've partnered with Redfin to share some tips on the essentials when entertaining overnight guests.  Entertaining guests, even in small...

Read more →

The Holiday Gift Guide

November 24, 2024

Happy Holidays! As we are preparing for the upcoming holidays, we thought it would be the perfect time to help...

Read more →

2682 certified reviews
2,682
4.9 star rating
Certified reviews
Powered by YOTPO
Liquid error (snippets/sweettooth-widgets line 2): Could not find asset snippets/sweettooth-tab-widget.liquid
Reviews