Subscribe to our mailing list

* indicates required
News – tagged "natural hair" – All Things O'Natural

WASH DAY FOR THE LITTLE ONES

By Dominique Harris
on August 20, 2014
With 1 comments

If you've got little ones, you may understand the 'sighs' of wash day...But..It truly doesn't have to be a dreaded task of war between parent and child. Here's a regimen that I use to keep my little one's hair healthy, manageable and stress free. 
NAOMI'S REGIMEN

STEP 1: PRE POO (optional step)

Depending on how dry her hair is,To soften her hair, help to retain more moisture and lessen the harshness of the cleansing routine, I will apply our Natty Moist leave in to her hair for 20 minutes. Whenever I do any type of cleansing, I ALWAYS place the hair in sections. This helps to minimize the hair tangling and helps the process flow much much smoother. The prepooing is done outside of the wash area, while she is watching a show or doodling on the ipad. To do this, I simply work one section at a time by apply an ample amount (amounts will vary based on thickness and length) to each section. I also take this time to finger detangling which is why I love to use our Natty Moist, it's extremely important to have a product with great slip.


STEP 2: CLEANSING

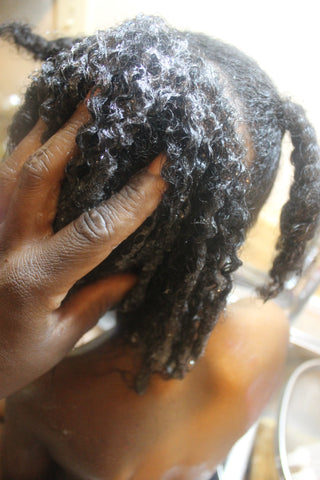
After 20 minutes of allowing her finger detangled hair to soften via the pre poo, it's time to complete the entire hair routine. For us, the sink is always easier to use than the tub, she sits much higher which makes it an easier task for me. I rinse the conditioner from the pre poo out of her hair working one section at a time. After the conditioner has been rinsed, again working one section at a time, I apply our Dudu Osum Shampoo and thoroughly work in. Once I have applied to one section, I repeat on the other sections until I have applied the shampoo to her entire head.


STEP 3:FOCUS ON SCALP

I make sure to thoroughly work the cleanser in, focusing most on her scalp..this is where the most buildup of dirt, debris and oils are, and in order to maintain healthy hair, it's optimum to keep the scalp clean. (tip) While working the cleanser in, I hold one section of the hair with one hand while massaging the cleanser into the scalp with the tips (not nails) of my fingers. This prevents the hair from re-tangling while cleansing. 


STEP 4: RINSING AND DEEP CONDITIONING

I make sure to thoroughly rinse the cleanser from her hair, again, working one section at a time. 

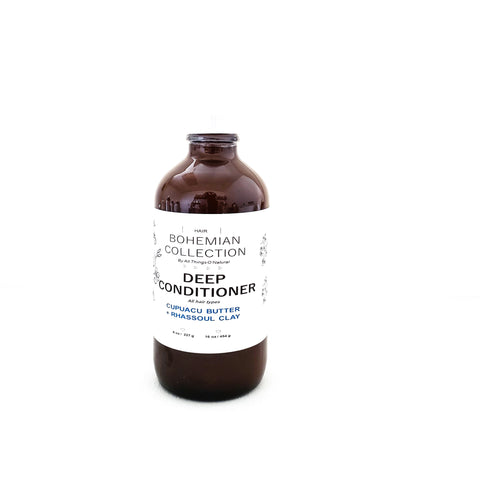
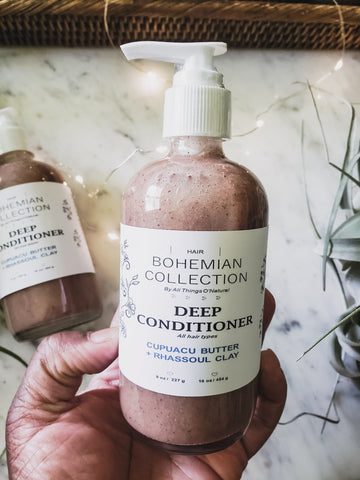
Just as it's important for us, as adults, to deep condition the hair, it's also important for our little ones to deep condition. Deep Conditioning helps to restore the moisture back into the hair that is removed during the cleansing process. I apply our Natty Cupuacu & Rhassoul Deep Conditioner to her hair for 5-10 minutes while allowing her to enjoy bath time. Working one section at a time, I finger the deep conditioner in to ensure that each strand is coated. Certain Deep Conditioners are pH balanced to help to close the hair's cuticle that is otherwise lifted during the cleansing routine. 


STEP 5: RINSING, DRYING, PROTECTING

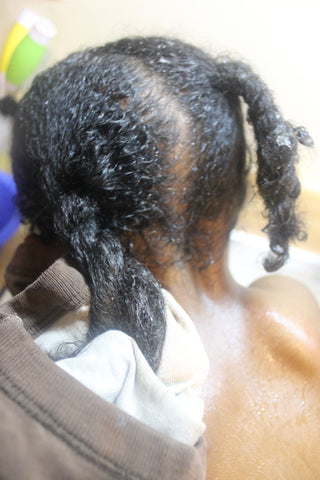
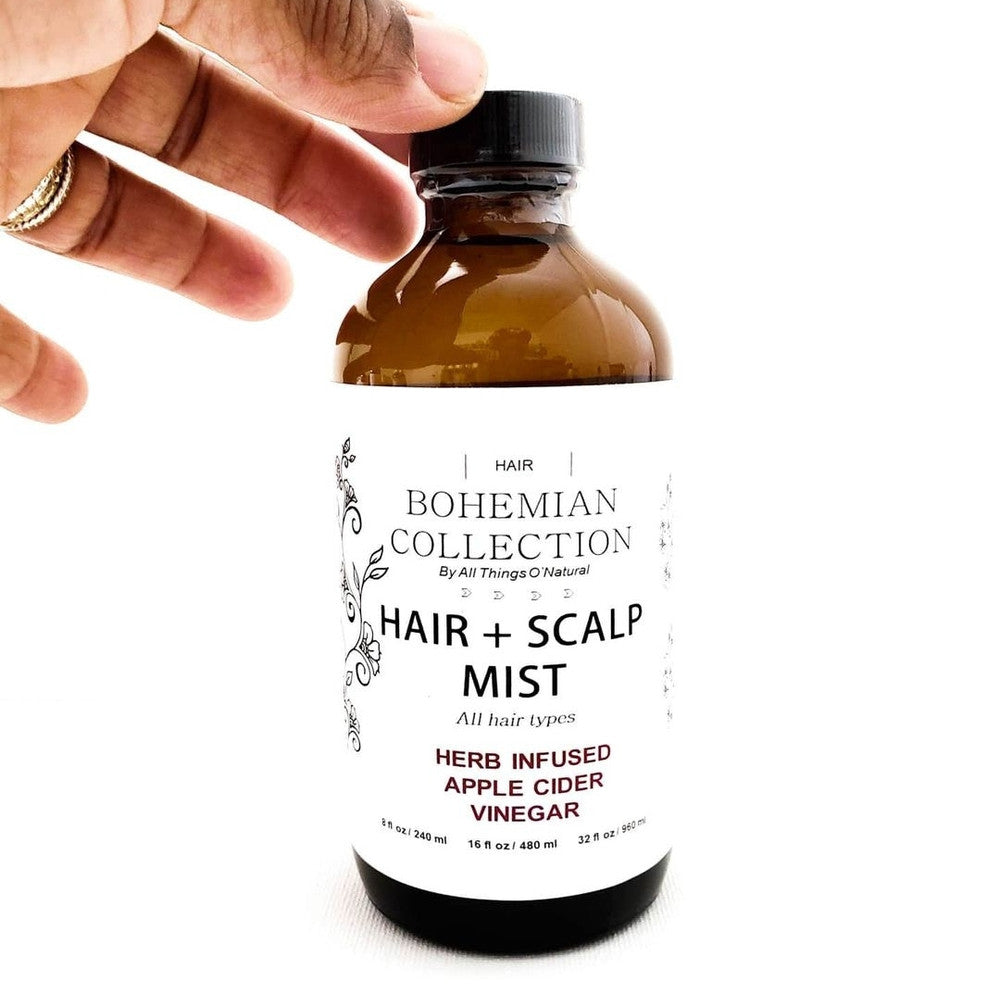
Once the deep conditioner has conditioned the hair (5-10 minutes for her), I thoroughly rinse. Once I have thoroughly rinsed her hair, I then use an old T-Shirt to dry her hair. Towels can be drying and harsh to the hair aiding in dryness, frizz and split ends.  I then apply our Natty ACV Hair & Scalp Mist to help further balance the hair's pH, as well as protect the hair from mineral buildup, dirt and debris found in tap water. Helping to close the hair's cuticle also helps to minimize frizz and impart shine to the hair. 


STEP 6: MOISTURIZING, SEALING, STYLING

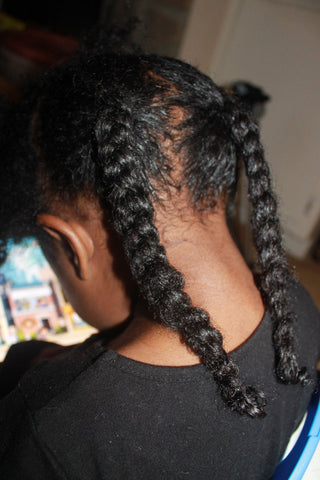
Once all of the cleansing, deep conditioning and protecting has been done, I apply our Natty Moist leave in conditioner to make sure her hair stays moisturized, then apply our Natty Butter to lock/seal in the moisture preventing the moisture from escaping. I then style as usual. Either buns or twists or braids. It's a very very rare occasion that I let her tresses flow freely, so I mostly keep it protected. I repeat this regimen about once per week and her hair has truly thrived. Whenever her hair needs remoisturizing throughout the week, I will apply our Natty ACV Mist to moisturize, then apply our Natty Butter to lock in the moisture..or I will apply our Natty Creme and style as usual. The important factors are: Ingredients, Clean Scalp, Moisture and Stress Free Styling. Here's a couple of ways I keep her hair. And as always, I hope this helps. 


And on rare occasions...


MY PRE POO METHOD

By Dominique Harris
on July 29, 2014
With 2 comments


Hola Chicas/Chicos..I pray all is well with everyone.
So I decided to do a series titled 'Step by Step' pictorials of my healthy hair tips that I hope will also be beneficial to aiding you through your journey with ease.


What is PRE-POOing and Why Do It?

PrePooing is a beneficial step that is done before shampoo cleansing the hair. It allows the hair to retain more conditioner, it helps prevent swelling of the hair and it minimizes the harshness of shampooing and helps rid the hair of shed hairs accumulated throughout the days and weeks. (keep in mind, normal hair will shed between 100-150 hairs per day. You can tell shed hair by the white tip or bulb at the end of the hair)...If you have a prepoo method of your own that is working, please feel free to share. I do this about once per month each time I do a shampoo cleanse.

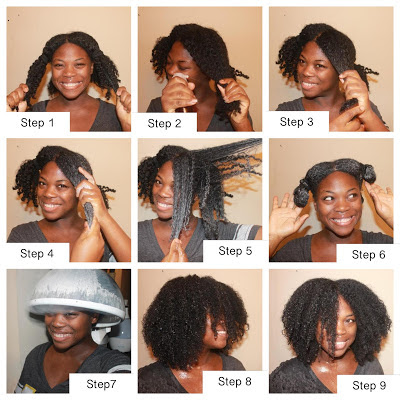
A NATTY GIRL'S STEP BY STEP PRE POO METHOD


STEP 1:

Place hair into 2 to 4 sections (if long enough) to prep for pre pooing. The sections allow for ease of doing this method and to help prevent the hair from re-tangling. Select a spray bottle with water, your favorite oil and/or conditioner (recently, I've been using both an oil and conditioner.)I apply my hair using my Natty ACV Hair & Scalp Mist. This helps remove old product build up, working as a light clarifier as well as help with detangling. 

STEP 2:

Saturate hair with your water or if you have it, your Natty ACV Hair & Scalp Mist (Again this aids in helping to detangle with ease)

STEP 3:

Apply your oil of choice or apply your conditioner. If using conditioner only, skip step 3. Just FYI, oils that are able to penetrate the hair shaft are: olive oil, avocado oil and coconut oil...

STEP 4:

Saturate the hair, making sure to thoroughly apply to your ends, with your favorite natural conditioner. I use our Natty Moist leave in conditioner. It's perfect due to the slip factor and the tangles just melt away. 


STEP 5:

Detangle with your choice of tool or your fingers. I mostly finger detangle. Be sure when using a tool, began detangling from ends working your way up to your roots now that your hair is slippery with conditioner. This minimizes breakage and allows for easy detangling. Be sure to thoroughly work the conditioner through.


STEP 6:

Place hair in twist, buns or plaits so hair does not re-tangle while pre pooing


STEP 7: 

You can opt to use no heat or use a steamer or heat cap to help infuse the oils and/or conditioner into the hair. This is especially helpful for naturals with 'low porosity' hair. The heat helps to lift the cuticle and properly infuse moisture. If you are unsure what your hair's porosity may be, simply place a single hair into a cup of water and watch to see if it floats on top, in the middle or floats to the bottom. If it floats on top, you have low porosity, which is typically genetic. This means that your cuticle is closed very tight making it a bit difficult to penetrate the hair with moisture..but once moisture is infused, it holds moisture very well. This is why the heat, which helps lift the cuticle is beneficial. If the hair floats to the bottom, you have high porosity hair. This type is usually caused by damage such as chemical processes (relaxers, texturizers, colorants), heat and/or environmental pollutants. For high porosity, you can choose to use heat when conditioning or not, just be sure to use butters and oils when locking in moisture to help close the gaps that are in the hair follicle from damage. If the hair floats in the middle, you have normal porosity.

** fyi, I have low porosity hair and it stays hydrated using these methods.

STEP 8:

Shampoo (Dudu Osum Natural Shampoo) , deep condition (Natty Cupuacu & Rhassoul Deep Conditioner), apply a leave in  (Natty Moist) and seal in the moisture (Natty Butter). 

AN O'NATURAL UPDO

By Dominique Harris
on July 24, 2014
With 0 comments

Ahh, the beauty of updo's! This updo is perfect for work and play and with very few products, it's simple to do and works o'mazingly on an old twist out or braid out.
Check out the details below.

STEP 1:

CHOOSE YOUR FAVORITE MOISTURIZER/SEALER OR STYLER.

It's always best to make sure to moisturize your hair before styling. This helps prevent dryness and breakage. For this style, I used our Natty Moist to moisturize, then sealed in the moisture using our Natty Butter. You can also use your Natty Creme as a perfect marriage of both.

STEP 2: 

SECTION OFF HAIR

Once your hair is nice and moisturized, place hair into 3 sections: Top, Middle, Back Two strand twist the top portion (see step 3 below) and back section. 

STEP 3 

FRONT BANG TWIST

2-strand twist front and back section in medium to chunky sized twists, leaving middle section loose. In the front, using bobby pins, randomly pin the section to create a nice textured front layered bang.

STEP 4-5

 DETANGLE AND FLAT TWIST

Middle Section..Working one side at a time, detangle and section hair into 3 thin section and flat twist upward towards top center of your head. Leave the lower half of the flat twist loose. Once you have 3 flat twists, repeat on opposite side.


STEP 6

GATHER FLAT TWISTS

Working one side at a time, gather your 3 flat twists and combine into one large two strand twist. Repeat on the opposite side.


STEP 7

PIN IT UP

 Working one side at a time, pull the large flat twist to the opposite side and pin using a bobby pin. Repeat on the opposite side.


STEP 8: 

RELEASE THE BACK AND FLUFF

To minimize frizz and add shine, apply a natural oil or butter to your hands to remove back twists. I used my Natty Butter to remove my twists and gently separated each twist to achieve the fullness that I liked.


STEP 9:

FLUFF, FLUFF, FLUFF

perfect to your liking, add some fly earrings and ROCK IT OUT!!

Earrings by Yumnah Najah

FRO HAWK IT OUT!!

By Dominique Harris
on July 19, 2014
With 3 comments

Fro Hawk it Out!!!

Here's a great style that's quick, simple and O'So Cute!! It's the perfect look for work or play. Stay tuned for my step by step:

The How To:


Step 1: select a good moisturizer (water based product such as a leave in conditioner) and sealer(butter or natural oil) (use of a styling agent is optional). I moisturized using my Natty Moist and sealed using my Natty Butter. You will also need 2 ouch less metal free bands and 1, 2 or more bobby pins. 


Step 2-3: create a front and back bang

Step 4: Moisturize hair and, without creating parts, place top and middle section of hair into ponytails. Creating parts will cause the style to look more like ponytails than the intended faux fro hawk. Once you have your pony tails secured tightly, fluff the hair so the ponytails are seamless and the hair blends together making it look like one seamless fro hawk.


Step 5: twist your front bang beginning half way down twisting to the end to prep for the swooped front.


Step 6: swoop the twisted bang to desired side and pin using bobby pin(s). Tighten up any loose ends,such as loose hairs, fluffing the hair to ensure a seamless style and apply some sheen (I melted my Natty Butter down to an oil and applied to my finished style to add some shine). Enjoy and rock it out!!!!

GOING STRAIGHT..Flat Ironing My Natural Hair

By Dominique Harris
on July 16, 2014
With 2 comments

Greetings, Everyone!!! I pray all is well with you and your wonderful household. 
Ahhh, the versatility of natural hair...Ok, so I decided to do a light blow out and flat iron on my tresses. Now, I've only used heat in my 4th month post BC and a little on my bang in 2012 as a demonstration on how to use heat properly on natural hair. For my complete post on the 'Do's and Don't s on Using Heat', click here . So, it's been quite awhile since the ole gal has had fire to the flame. 
I truly wanted to experiment with straight hair this week because as a page operator, I receive questions in regards to caring for natural hair while flat ironed or straightened. And, honestly, I love to speak by experience. So, this week, I want to document how I cared for my tresses while flat ironed: through workout, protecting at night, moisturizing, detangling, you know, the good stuff that helps keep our hair healthy. Now, I will say, I don't think excessive use of heat is a great go, simply because the more heat applied over and over gradually breaks down the protein bond in the hair and overtime, could potentially prevent the hair from reverting back to its normal curly, kinky or coily texture. Excessive heat use can also aid in dryness. So, with everything, I definitely encourage moderation. 

MY REGIMEN AND PRODUCTS USED ON DAY 1:


  • Twist: Once my hair was 70-80% dry, I placed in twists to prep for blow drying and flat ironing the next day.  I had 16 total twists. 

THE METHOD: DAY 2

 
On Hair that was completely dry, working one twist at a time, I untwist, dampen just a little using my Natty ACV Hair & Scalp Mist then applied my Natty Butter to lock in the moisture. This helped with retaining more moisture into my hair to avoid dryness. Using a paddle brush, I detangled and Blow dried on medium heat, low setting. Taking smaller sections, I applied a little Natty Butter as my heat protectant then I proceeded to flat iron on temp setting of 325. Hair will burn at a temp of 450 degrees and above, so please be mindful. And because I did not want to risk burning or damaging my hair, I kept the heat setting low for a light flat iron. This allowed my hair to maintain the fullness that I achieved. I repeated until my entire head was done. Took about 3.5 - 4 hours for the entire process (this included resting for 3 minutes..hey, I'm not used to taking this much time on my hair unless I'm mini twisting my hair, which takes a loooonnnngggg time). I also trimmed about 2.5 inches off of my hair to rid my hair of dead ends. I didn't shape my hair or anything, for some reason, my hair grows out in a shaped mode all on its own. 
 

THE RESULTS: I DO LOVE IT!!


PRODUCT BUILDUP..SAY WHAT!!

By Dominique Harris
on July 16, 2014
With 2 comments

Greetings, Beautiful People...I pray all is well with everyone. 

Now, let's chat about one of the culprits that truly aid in dry hair..and that's PRODUCT BUILDUP.

Before we get into the how of how to rid the hair of product buildup, let's chat about how it affects the hair.

PRODUCT BUILDUP...HOW IT AFFECTS THE HAIR

  • Locks Moisture Out...prevents the hair from receiving moisture which aids in dryness and brittleness. 

  • Greasy/Peasy..Product buildup gives hair a greasy feeling and instead of it being properly moisturized and have a feeling of hydration, it has a feeling of grimy buildup.

  • Clogs the pores on the scalp...clogs the pores of the scalp thereby aiding in further scalp issues

  • This new product just didn't work..Product buildup prevents the hair from responding to the use of new products when trying for the 1st time. Note... It's always important to clarify the hair when using a new product for the 1st time to truly see how the product is working.

    And be sure to deep condition anytime you shampoo/clarify cleanse your hair.


How To Prevent or Rid the Hair of Product Buildup


In order to prevent product buildup from creating dryness, it's best to do a thorough cleansing of the hair using a cleanser or DIY (do it yourself) treatment to thoroughly cleanse the hair. Many shampoos are not formulated strong enough to remove some natural oils such as castor oil and many synthetic ingredients, so a clarifying poo would be the best way to go. I mention some awesome natural clarifiers below.

CO-WASHING


Co-washing (conditioner washing) is a great way to lightly brush off some dirt and aid in retaining moisture in the hair. However, co-washing is not formulated to be strong enough to remove synthetic ingredients and many oils, so it's a great idea to clarify the hair at least monthly (if using all aural ingredients) and twice per month (if using products with synthetic ingredients). Conditioners are also usually formulated at lower ph levels to help close the cuticle which is mot beneficial for cleansing the hair thoroughly, and they are great for temporarily restoring moisture and temporarily repairing the hair. However, anytime I cleanse (which is usually every 3-4 weeks) I use my Natty ACV Hair and Scalp Mist as a pre cleanse and as a final rinse (as a final rinse, I simply spray the mist onto my scalp and hair after final rinsing). I also use the Natty ACV Mist to keep my scalp clean in between cleansing. 

CLEANSING

A great all natural cleansers is our Dudu Osum Black shampooTerressentials pure earth wash, the bentonite clay treatment (of course there are tons more). Apple Cider Vinegar is also a great way to help with the cleansing process of removing product buildup. It also help to protect the scalp from fungi, debris, bacteria and other contaminants found in tap water and environmental elements. A simple ACV rinse is to combine 1 TSP of ACV to 8 oz of cool distilled or filtered water and pour onto clean, conditioned and rinsed hair as your final rinse. Do not rinse the mixture out. You can also combine this mixture in a nice applicator bottle and apply to hair and scalp as a pre cleanse for helping to remove buildup. ACV also helps to close the cuticle on the hair helping the hair minimize frizz and impart sheen to the hair. Check out this great video how to of a helpful cleansing method to help rid the hair of product buildup: Cleansing Video .

As always, I hope this tip was helpful and remember, clean hair and scalp = happy hair and scalp.

**For the look above

Earrings by Dope Crochet

Mineral Lipstick in Classic by Motives

Lip Balm by Natty Naturals

Cart Summary

Your cart is empty

Recommended products

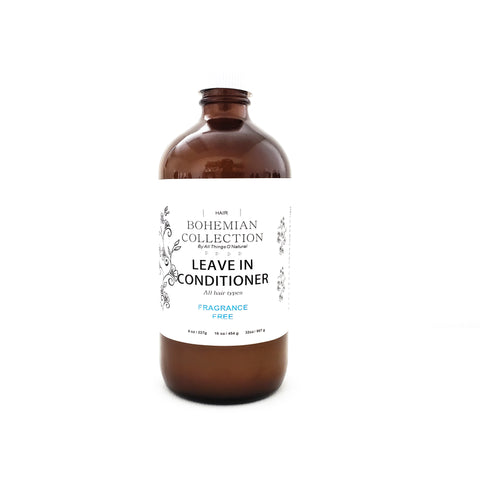
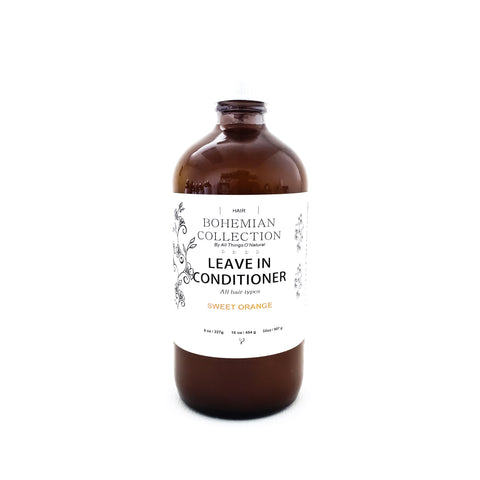
  • LEAVE IN CONDITIONER
    LEAVE IN CONDITIONER LEAVE IN CONDITIONER
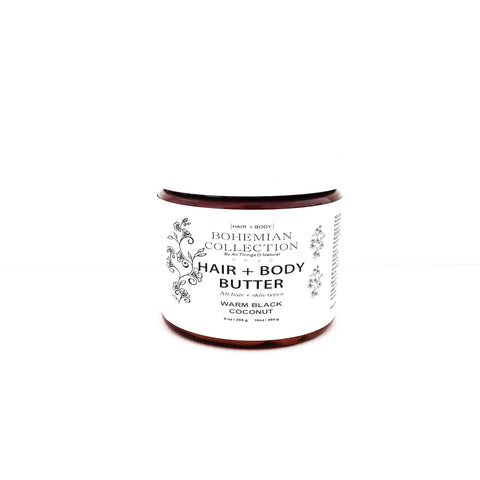
  • HAIR + BODY BUTTER
    HAIR + BODY BUTTER HAIR + BODY BUTTER
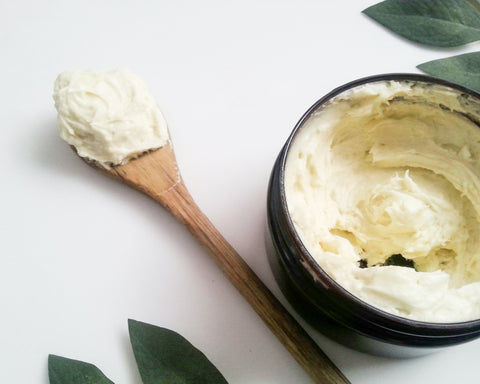
  • CUPUACU & RHASSOUL DEEP CONDITIONER
    CUPUACU & RHASSOUL DEEP CONDITIONER CUPUACU & RHASSOUL DEEP CONDITIONER

From the Blog

The Holiday Gift Guide

November 24, 2024

Happy Holidays! As we are preparing for the upcoming holidays, we thought it would be the perfect time to help...

Read more →

Our New STYLING GEL

July 11, 2024

Welcoming our newest addition to our hair care line, our Styling Gel is loaded with beneficial nutrients that help retain...

Read more →

 
Liquid error (snippets/sweettooth-widgets line 2): Could not find asset snippets/sweettooth-tab-widget.liquid