STEP 1: PRE POO (optional step)
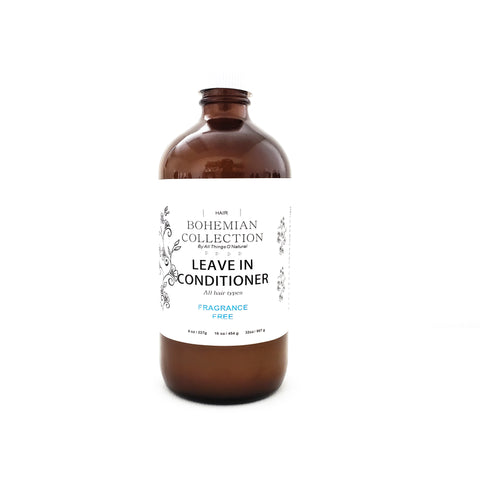
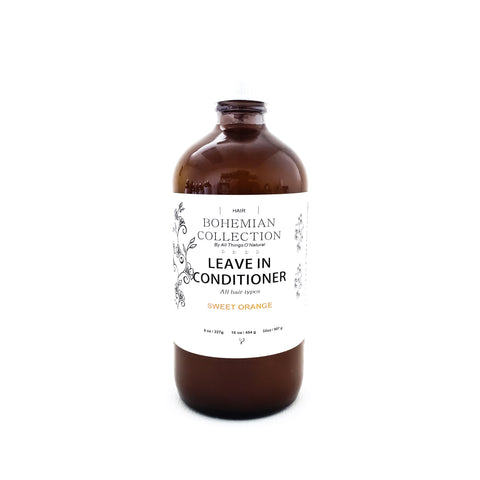
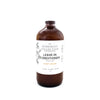
Depending on how dry her hair is,To soften her hair, help to retain more moisture and lessen the harshness of the cleansing routine, I will apply our Natty Moist leave in to her hair for 20 minutes. Whenever I do any type of cleansing, I ALWAYS place the hair in sections. This helps to minimize the hair tangling and helps the process flow much much smoother. The prepooing is done outside of the wash area, while she is watching a show or doodling on the ipad. To do this, I simply work one section at a time by apply an ample amount (amounts will vary based on thickness and length) to each section. I also take this time to finger detangling which is why I love to use our Natty Moist, it's extremely important to have a product with great slip.
STEP 2: CLEANSING
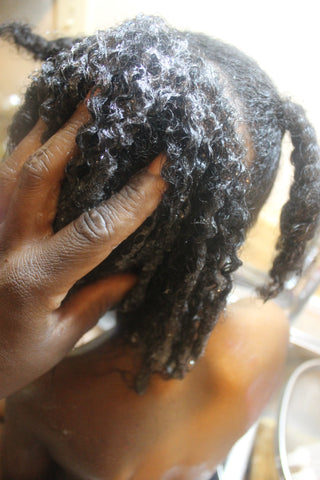
After 20 minutes of allowing her finger detangled hair to soften via the pre poo, it's time to complete the entire hair routine. For us, the sink is always easier to use than the tub, she sits much higher which makes it an easier task for me. I rinse the conditioner from the pre poo out of her hair working one section at a time. After the conditioner has been rinsed, again working one section at a time, I apply our Dudu Osum Shampoo and thoroughly work in. Once I have applied to one section, I repeat on the other sections until I have applied the shampoo to her entire head.
STEP 3:FOCUS ON SCALP
I make sure to thoroughly work the cleanser in, focusing most on her scalp..this is where the most buildup of dirt, debris and oils are, and in order to maintain healthy hair, it's optimum to keep the scalp clean. (tip) While working the cleanser in, I hold one section of the hair with one hand while massaging the cleanser into the scalp with the tips (not nails) of my fingers. This prevents the hair from re-tangling while cleansing.
STEP 4: RINSING AND DEEP CONDITIONING
I make sure to thoroughly rinse the cleanser from her hair, again, working one section at a time.
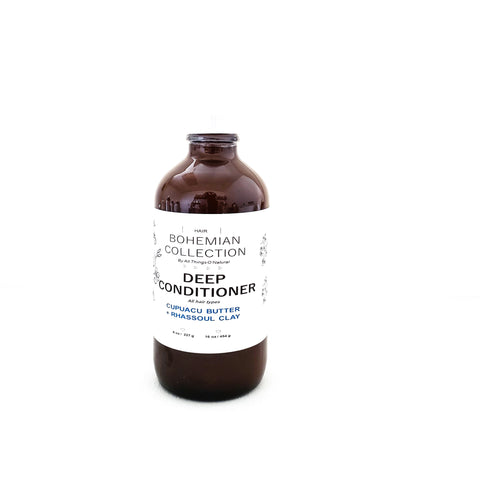
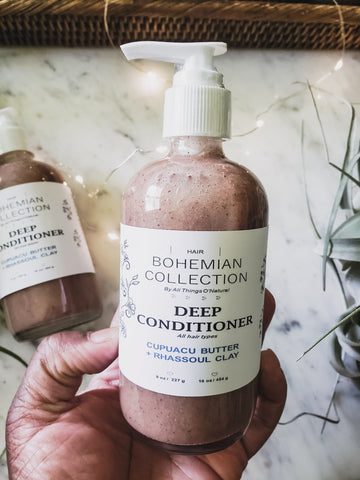
Just as it's important for us, as adults, to deep condition the hair, it's also important for our little ones to deep condition. Deep Conditioning helps to restore the moisture back into the hair that is removed during the cleansing process. I apply our Natty Cupuacu & Rhassoul Deep Conditioner to her hair for 5-10 minutes while allowing her to enjoy bath time. Working one section at a time, I finger the deep conditioner in to ensure that each strand is coated. Certain Deep Conditioners are pH balanced to help to close the hair's cuticle that is otherwise lifted during the cleansing routine.
STEP 5: RINSING, DRYING, PROTECTING
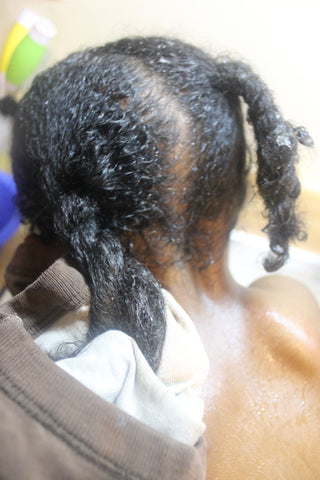
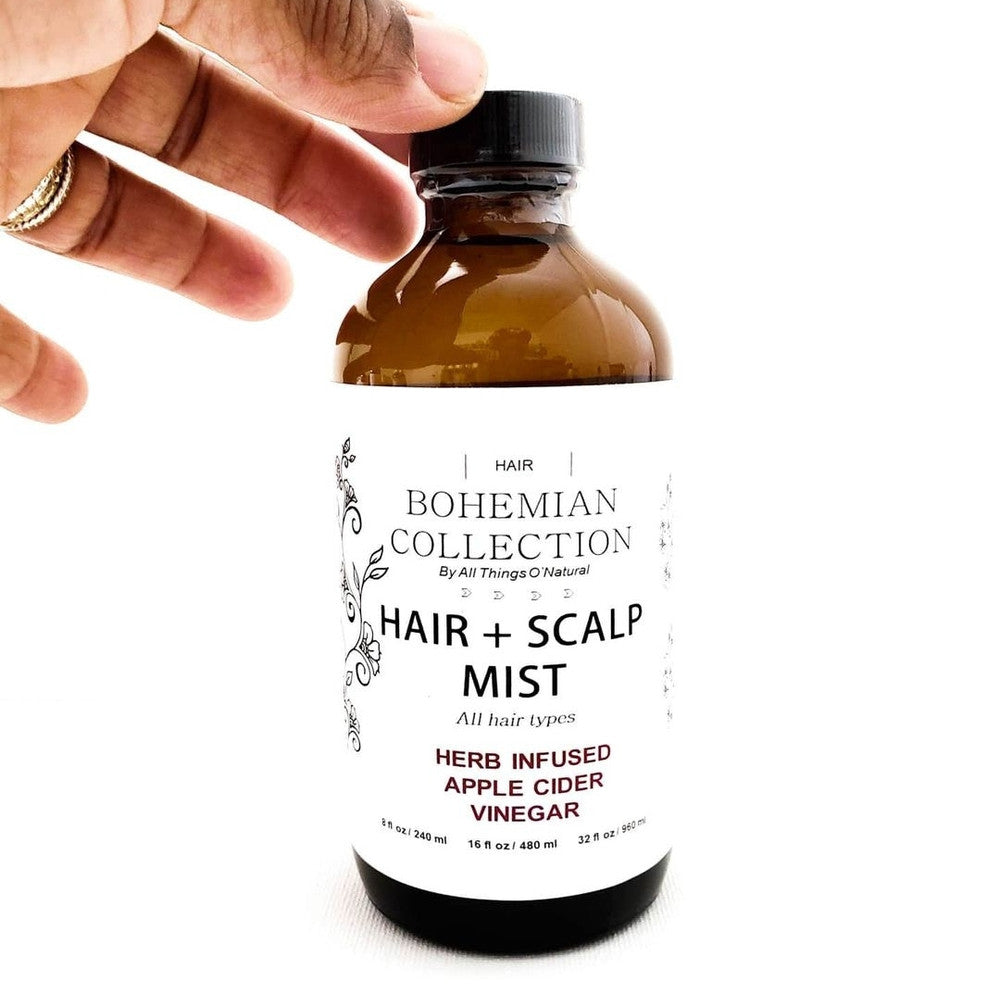
Once the deep conditioner has conditioned the hair (5-10 minutes for her), I thoroughly rinse. Once I have thoroughly rinsed her hair, I then use an old T-Shirt to dry her hair. Towels can be drying and harsh to the hair aiding in dryness, frizz and split ends. I then apply our Natty ACV Hair & Scalp Mist to help further balance the hair's pH, as well as protect the hair from mineral buildup, dirt and debris found in tap water. Helping to close the hair's cuticle also helps to minimize frizz and impart shine to the hair.
STEP 6: MOISTURIZING, SEALING, STYLING
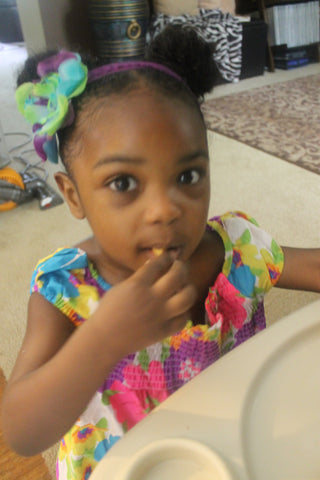
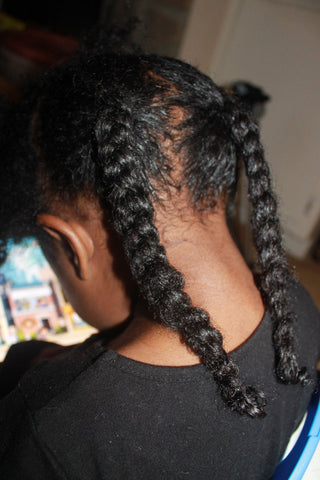
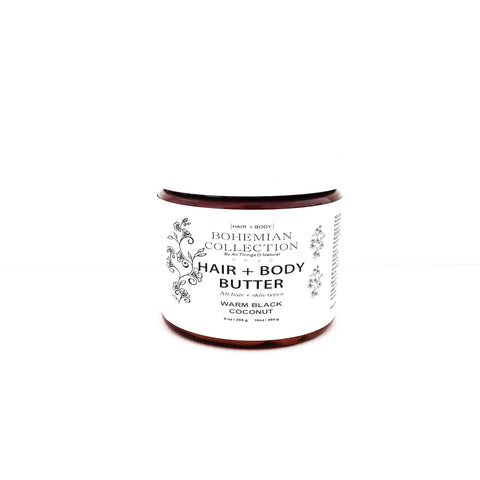
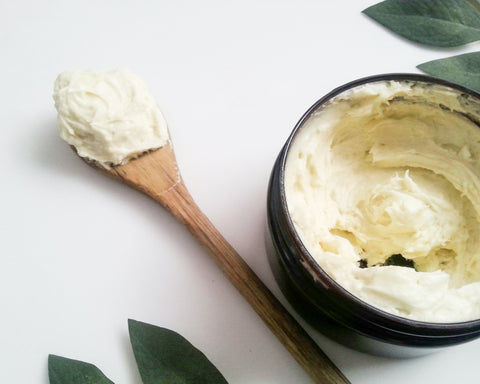
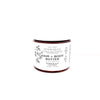
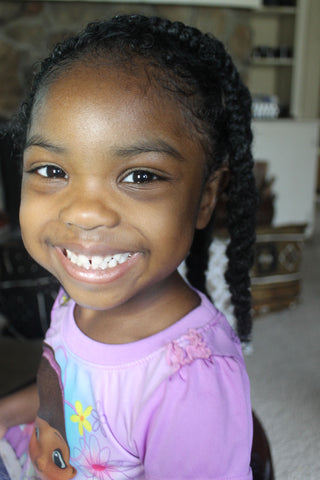
Once all of the cleansing, deep conditioning and protecting has been done, I apply our Natty Moist leave in conditioner to make sure her hair stays moisturized, then apply our Natty Butter to lock/seal in the moisture preventing the moisture from escaping. I then style as usual. Either buns or twists or braids. It's a very very rare occasion that I let her tresses flow freely, so I mostly keep it protected. I repeat this regimen about once per week and her hair has truly thrived. Whenever her hair needs remoisturizing throughout the week, I will apply our Natty ACV Mist to moisturize, then apply our Natty Butter to lock in the moisture..or I will apply our Natty Creme and style as usual. The important factors are: Ingredients, Clean Scalp, Moisture and Stress Free Styling. Here's a couple of ways I keep her hair. And as always, I hope this helps.

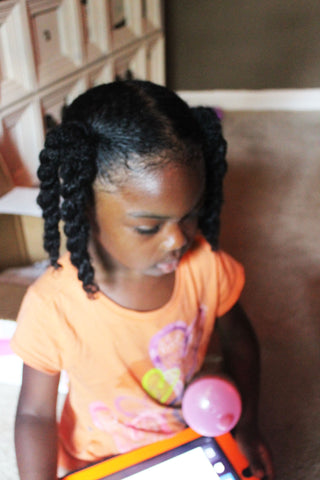
And on rare occasions...


